A flashy thumbnail may help your video get noticed in our saturated online world, but your videos need to sound good too if you want to retain viewers. When it comes to retaining viewers for more than a few seconds, audio quality is arguably more important than things like lighting or flashy transitions. Those things are important too — but your viewers will have moved on before they notice them if your audio is indistinct, too quiet, or too noisy. If you’re not an audio expert, it may seem that your only solution is to buy an extensive system of microphones, recorders, and other broadcast equipment, but that’s not the case at all. Let’s look at some tricks you can use to improve your audio for video, and some affordable solutions to upgrade your sound quality for YouTube.
Table of Contents:
Your Camera Mic is Holding Your Videos Back
Focus on Your Sound Source with a Clip-on Microphone
Some Tips on Room Noise and Acoustics
Does Audio Quality Matter on YouTube if Everything is Compressed Anyway?
Get Perfect Audio Levels Every Time with 32-bit Recording
Optimize Your Audio with Recording Presets
Get Your Sounds Right at the Source
Enhance Your Sound and Retain More Viewers
Your Camera Mic is Holding Your Videos Back
Moving beyond your camera’s built-in microphone is the first step you should take to enhance your audio for YouTube. Whether you’re using your smartphone or a DSLR, the built-in microphones definitely do not match their video quality. Vocal quality and intelligibility starts at the source, and from there the microphone is the most important part of the chain. By recording your audio with a dedicated microphone, you’ll instantly notice that your videos simply sound better. You don’t have to spend a lot to get a good-sounding clip-on microphone for vocal audio recording, which brings us to…
Focus on Your Sound Source with a Clip-on Microphone
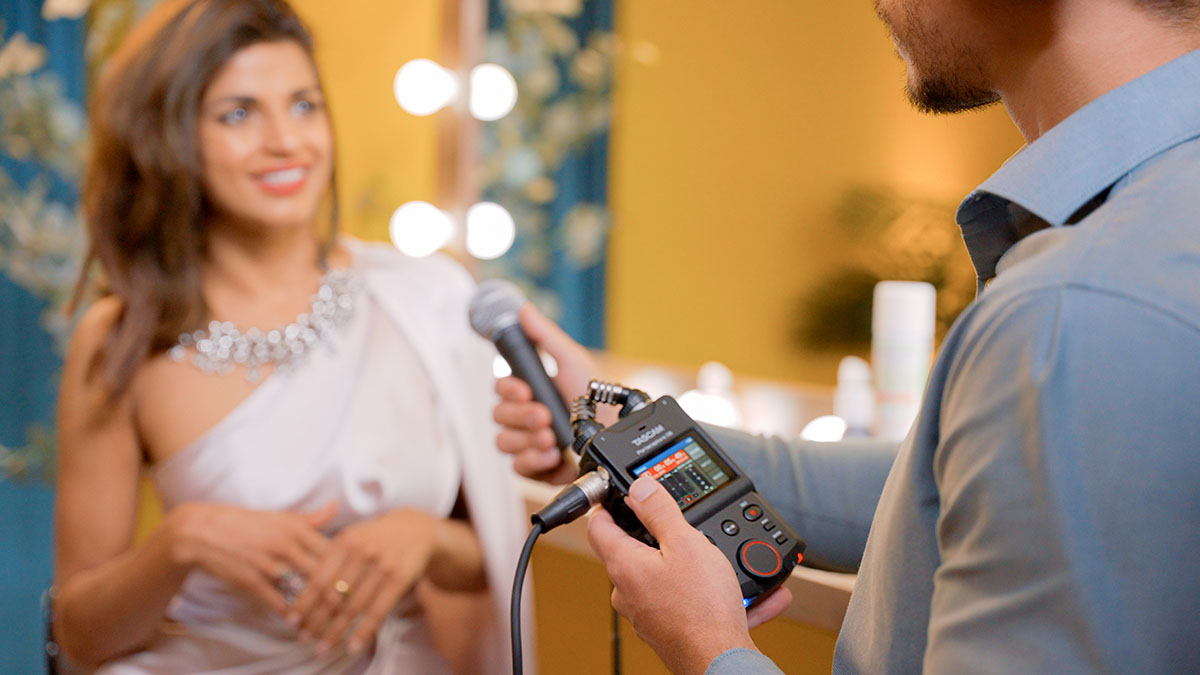
If your YouTube videos feature you talking to your audience, using a clip-on microphone will give you much better vocal audio quality compared to using your camera’s built-in mic. The main difference is that you’ll be able to position the mic much closer to your mouth, maximizing your signal-to-noise ratio. The clip-on mic will pick up much less reflected sound from your room, giving your recordings a cleaner, more professional sound.
While you could use a clip-on mic that connects to your camera’s microphone input, it’s simpler and less cluttered to use a clip-on mic/recorder combo like the TASCAM DR-10L Pro. It was designed exactly for applications like recording audio for YouTube videos, and it’s so compact you’ll barely notice it’s there. You clip the mic onto your shirt, hit record on the recorder, and slip it into your pocket: that’s it. During editing, you can use your editing software’s auto-sync to automatically sync the DR-10L Pro’s recording with your camera audio’s recorder (just remember to mute the camera audio track before rendering your video!). The DR-10L Pro also supports timecode for professional editing capabilities, but for most YouTube content creators auto-sync is simple and effective.
Some Tips on Room Noise and Acoustics
Just as photographers and videographers worry about light, sound engineers worry about the sound of the room a recording is taking place in. And while it is very obvious when your video location is too bright or too dark, it’s not always so obvious all the ways a room can mess with your sound. While the complexities of room acoustics and treatment solutions are outside the scope of this blog, we do have some simple tips for tightening up your sound in any room.
We’ve already mentioned one of the best ways to reduce room noise in your recordings — get your microphone as close to you or your subject as possible. This makes your vocal recordings sit well above the ambient reflections in your room. And because sound reflections from your walls and ceiling are the main problem we’re dealing with, you can easily reduce reflections in your room by hanging some heavy blankets around you. It doesn’t need to look professional (as long as it’s out of frame!) — even draping a heavy comforter over a couple of mic stands behind the camera will do wonders.
How you achieve it is up to you, but the core concept is to reduce sound reflections in your recording space by any means necessary. And while a recording studio will treat the walls (and everything else in the space) to minimize reflections, you don’t really need to go to those lengths if you’re willing to drape a couple blankets off-camera.
Does Audio Quality Matter on YouTube if Everything is Compressed Anyway?
It’s no secret that online content is heavily compressed whether it’s on YouTube, TikTok, or anywhere else. That’s actually the reason that starting with the best audio quality possible is so important: once you’ve uploaded your video online, viewers will probably be listening at a lower quality than you intended, on whatever listening device they want. You don’t have any control over that, but you do have control over the initial quality. Accept that YouTube compression is going to leave its mark on your audio, use our tips to improve your vocal recordings, and you’ll produce videos that sound better even at low playback quality on a bad-sounding phone speaker.
Get Perfect Audio Levels Every Time with 32-bit Recording
If you’ve been creating YouTube videos for a while, you already know the importance of getting your recording levels set properly: too loud and you’ll get clipping in your recording, too quiet and you’ll sound indistinct and may have noticeable noise. But what if you could know that your recording levels are always perfect, with no need to set them beforehand? It almost sounds too good to be true, but that’s what 32-bit floating point recording offers.
While 32-bit floating point recording and the way it works can be confusing if you’re not an audio expert, the funny thing is that it can also confuse audio experts at first glance. If you’ve spent your entire career making sure input levels are set properly, it simply feels wrong to hit record without even checking them. But that’s exactly what you can do with a 32-bit floating point recorder: press record, move on with your production, and simply know that your audio levels are optimized.
So how does it work? While most audio recorders are equipped with one analog-to-digital converter for the audio signal, a 32-bit recorder (like the TASCAM DR-10L Pro we mentioned above) uses two converters simultaneously. One is optimized for capturing quiet, low-level sounds, while the other converter is optimized for loud signals. These are combined into a single 32-bit audio file that doesn’t clip during loud sections, and sounds clear and noise-free during quiet sections. When you’re editing, you’ll never need to scrap an audio recording due to poor audio levels — and you never needed to adjust input levels in the first place.
Optimize Your Audio with Recording Presets
Even if you’re using 32-bit recording to ensure your audio levels are perfect, you still have some options for optimizing your sound. A common trick for sound engineers is to engage a low-cut filter during recording, which cuts out the lowest frequencies where hum and rumble reside — you won’t hear it affect your speaking voice, but you’ll probably notice that your recordings sound cleaner and more professional even if you can’t identify why. Sound engineers will also usually use an EQ during recording to further shape the sound to bring out intelligibility, add vocal richness, and other things. And while you can do these things during editing, you’ll get better results (and spend less time in post production) if you handle them when you record.
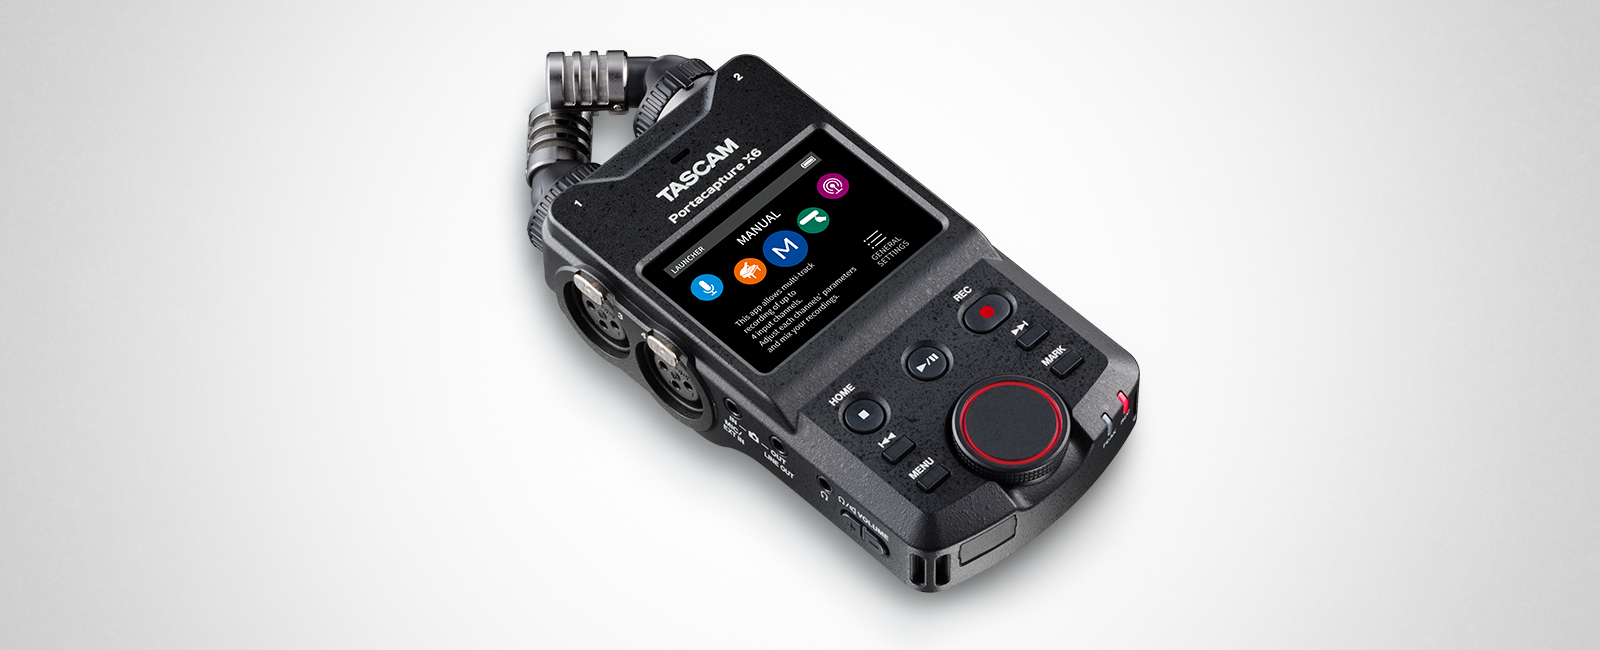
Some portable recorders aimed at content creators, like the TASCAM Portacapture X6, make it easy to optimize your recordings and save time in post production. The Portacapture X6 features recording presets optimized for specific applications like vocal narration, field recording, ASMR, and more. Choose the preset that matches your application, and it will optimize your signal with EQ and other processing: no fine-tuning needed. And if you’re especially tweaky, and prefer to customize a preset for yourself, you can do that too. Regardless of what type of recording chain you ultimately employ, take advantage of presets when appropriate to achieve better results faster.
Get Your Sounds Right at the Source
Any experienced recording engineer will tell you that getting sounds right at the source is key to achieving high-quality audio recordings. And if you keep the mindset of “fix it at the source” instead of “I’ll fix it in post,” your videos will sound better and retain more viewers. For example, if your vocal recording is too low, moving the microphone closer to your mouth is a much better option than turning up the recording’s level in your editing software (which will raise the noise floor as well). If you’re adding lots of EQ to add weight and body to your voice, try recording yourself closer to the corner of the room (bass frequencies build up in room corners and can act as a natural EQ). If your voice sounds dull and indistinct, try a different microphone instead of using an EQ to add high frequencies. In other words, when you hear a sonic issue you’d like to resolve, see if you can “solve it at the source” instead of trying to fix the problem later with digital processing.
Enhance Your Sound and Retain More Viewers
No matter what type of video content you make, sound quality is crucial when it comes to retaining viewers. We hope this blog helped give you some ideas on how you can improve your audio for YouTube, and in turn retain more viewers. Make sure you’re starting with a good sound at the source, use a dedicated microphone or microphone/recorder combo that fits your production style, and watch your audience retention soar!
Related Products:
Portacapture X8
https://tascam.jp/int/product/portacapture_x8/top
AK-BT1
https://tascam.jp/int/product/ak-bt1/top


|
AK-BT1 |
|
Portacapture X6 |


![[Updated] Information regarding macOS Tahoe compatibility](/images/products/_tmp/learn/thumbnail/macos_tahoe.jpg)